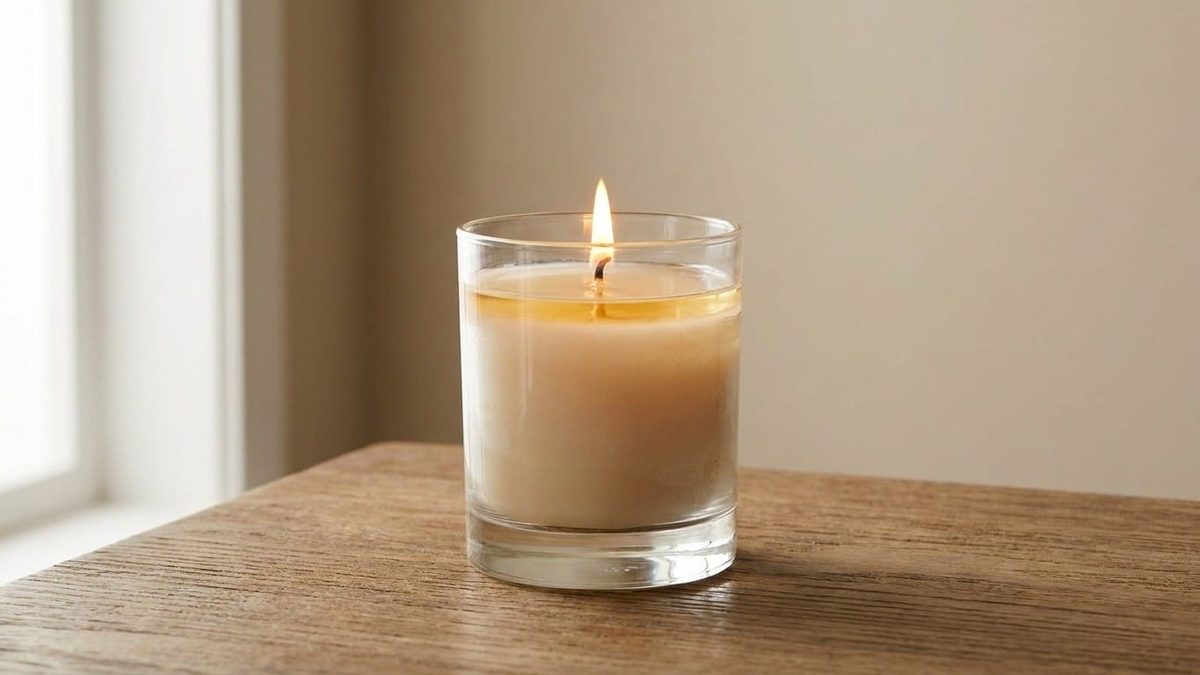
Trent minutes. That is often how long you let a new candle burn before blowing it out, waiting for that initial scent throw to fill the room. Bad idea. That hurry condemns half the pot before it even begins.
The phenomenon has a name: tunneling. It is incomplete combustion. The flame digs a well around the wick while the wax on the sides stays solid. This isn’t just an aesthetic failure. When wax melts only in the center, you waste wax and shorten the candle’s life drastically.
Why Your Candle Tunnels From the Start
Candle wax has a memory. It never forgets the first burn.
If you extinguish the candle before the entire surface melts to the edges, the wax locks in that first circle. Every subsequent lighting will only melt wax up to that same memory line. The result? A deep, ugly tunnel down the middle and a hard ring of unused wax on the outside.
This is especially prevalent with soy wax, rapeseed wax, and coconut wax. These vegetable waxes have particularly strong memory properties. They dominate the market for artisanal and scented candles in France, yet most users ignore the rules.
The issue is amplified by diameter. Larger pots or wide-diameter candles are more prone to this trap because the heat has further to travel to reach the edges.
The Golden Rule: Diameter Equals Hours
There is a simple, industry-standard method to avoid this pitfall. The National Candle Association in the United States states a clear rule:
Burn one hour for every inch (2.5 cm) of diameter.
This isn’t just theory. It is the standard for professional makers.
Practical Burn Times
- Small jars (3.4 inches / ~8.5 cm): Burn for 3–4 hours.
- Standard mugs (7–8 cm): Burn for at least 2–3 hours.
That second point is crucial. A standard coffee mug-sized candle needs two to three hours on its first lit. A quick coffee break is never enough time. The surface must be completely liquid from edge to edge.
Why Tunneling Kills Your Scent
It is not just about wasting wax. It is about performance.
A full melt pool is required to maximize fragrance diffusion. The liquid surface area dictates how many odor molecules evaporate into the air.
- More liquid surface = stronger scent.
- Tunneled candle = weak scent.
Even if your candle is three-quarters full, a tunnelized wax pool releases significantly less fragrance. The mick size also plays a role here. A wick that is too small cannot draw enough wax to maintain a full melt pool, causing tunneling to happen almost immediately.
How to Fix an Already Tunneling Candle
All is not lost if you have already made the mistake. You can often rescue the candle.
The Aluminum Foil Method
This is the most cited technique.
1. Wrap the top of the container with aluminum foil.
2. Leave a small opening in the center for the flame to breathe.
3. Let it burn for 1–2 hours.
The heat accumulates against the foil, forcing the solid wax on the walls to melt down.
Heat Gun or Hair Dryer
Alternatively, use a hair dryer or a heat gun on a low setting. Gently melt the top layer of wax on the sides. Be careful not to overheat the container or the wax, which can alter the scent throw.
Warning: If the tunnel is extremely deep and the wick is drowning in wax, stop. It is safer to recycle the remaining wax than to risk a fire hazard or a sooty mess.
Best Practices for Future Burns
Once the initial burn is successful, the strict rules loosen slightly. However, good habits ensure longevity.
- Trim the wick: Before every lighting, cut the wick to about 0.6 cm (1/4 inch). A trimmed wick controls flame height and temperature, preventing soot and uneven burning.
- Avoid drafts: Air currents from vents, fans, or open windows cause uneven combustion. Place candles on stable surfaces away from direct airflow.
- Reset the memory: While you don’t need to burn for hours every time, occasionally letting the candle burn until the edges melt helps reset any lingering memory rings.
This vigilance is only necessary once. Get that first burn right, and you will enjoy the pot until the last drop of wax.
Sources: tabocandle.com | elyscandle.fr