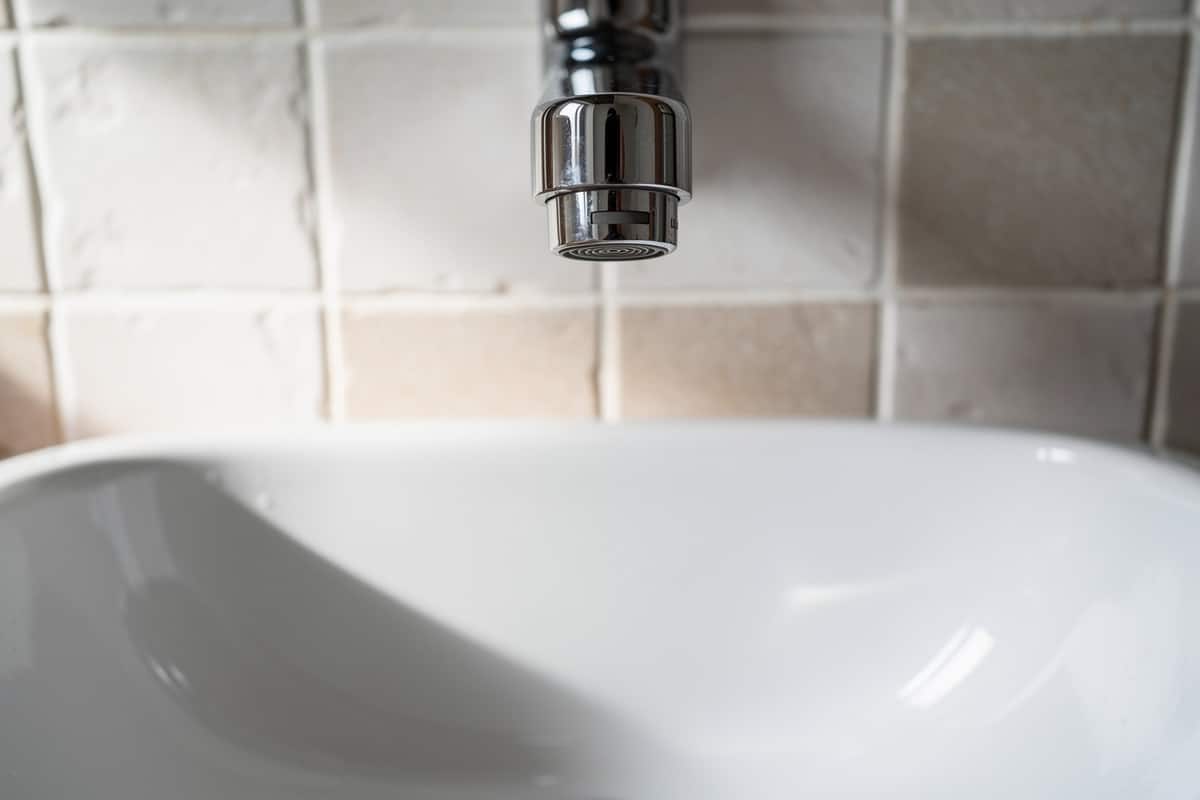
Plink. Plink. Plink.
It is 3 AM. The sound is drilling into your skull. A dripping faucet is one of the most common household nuisances. It keeps you awake. It drives you crazy. It feels like psychological torture.
Spring is here. It is time for renewal. It is time for big resolutions in the house. Fixing this annoying leak is a perfect starting point.
Your first instinct is probably to call a plumber. You imagine heavy costs. You imagine a bill that will make your wallet cry.
Stop.
Behind this aquatic drama lies a mechanism of childish simplicity. With the right information, this is an easy assembly task. Anyone can do it. Even if you have never held a wrench. You can stop the waste today.
The Culprit: A Wear-and-Tear Valve Seal
The source of your insomnia is rarely a cracked pipe. It is rarely a complex mixer failure.
The culprit is hidden inside the faucet. It is a modest piece of rubber.
Meet the valve seal (or joint de clapet ).
This small disc is under constant pressure. It fights limescale. It takes a beating from water flow. Eventually, it hardens. It flattens. It cracks.
When it loses its flexibility, it cannot seal tightly. A tiny trickle of water escapes. That trickle becomes the infernal drip that ruins your sleep.
The good news? This crucial part costs less than two euros. You can find it in any hardware store aisle.
Gather Your Minimal Toolkit
Do not go out and buy expensive equipment. You do not need heavy tools. You need a clean workspace and a few basic items.
Check your cabinet for these essentials before starting:
- A wrench or flat wrench (adapted to the fixture’s nut)
- A flathead screwdriver with a thin blade (or a small butter knife)
- A Phillips head screwdriver
- A clean, dry cloth
- Natural descaler (white vinegar works well)
- The new valve seal (standard 15mm or 20mm diameter)
With this gear ready, you are prepared to restore calm to your bathroom or kitchen.
Step 1: Cut the Water Supply
Enthusiasm is good. Safety is better.
Number one rule of plumbing: control the pressure. If you take apart a pressurized system, you get a geyser. You get a flooded floor. You get a nightmare.
Locate your main shut-off valve. It is usually near the water meter, in the toilet room, the utility closet, or the garage. Close it firmly. Rotate the handle. This isolates your home from the risk of sudden water damage.
Step 2: Purge the Pipes
Even with the main valve closed, your pipes hold residual water. If you unscrew the faucet now, that water will splash everywhere.
Evacuate the stagnant liquid.
Open the defective mixer tap. Both the hot and cold sides. Let the flow dry up completely. This purges the system. It also confirms that your main valve is locked correctly.
Place a cloth at the bottom of the sink. This prevents small parts from sliding down the drain. You do not want to lose the new seal before it even starts working.
Step 3: Disassemble the Faucet Head
Now for the surgery. You need to reach the heart of the mechanism.
Start at the top. Remove the small colored cap. This indicates hot or cold. Use the tip of your flathead screwdriver. Pry it off gently. Do not force it.
Underneath, you will find a cross-shaped screw. Remove it with your Phillips screwdriver.
Lift off the outer crosspiece.
Take your wrench. Grip the faucet head nut. Turn it slowly counter-clockwise. The entire mechanism should release. It comes out easily from its brass housing.
Step 4: Replace the Faulty Part
Look at the exposed parts.
You will see a black rubber ring. It is dirty. It is likely split or stiff. This is the faulty valve seal.
Use the tip of your screwdriver to pry it off the metal valve body.
Now, take your new seal. It should be 15mm or 20mm. Slide it into place. Do not force it. It must sit flat and deep in its cup.
This simple rubber washer is the absolute defense against the drip.
Clean the area first. Wipe away limescale residues with a vinegar-soaked cloth. A clean surface ensures an airtight seal.
Once the new seal is in, you will reassemble the faucet in reverse order. Tighten the nut. Replace the screw. Snap the cap back on.
Open the main water valve. Turn on the tap.
Watch closely.
No plink. No plink.
Just smooth, silent flow.
You saved money. You fixed a major annoyance. You proved that DIY is not scary. It is just a matter of knowing where the rubber meets the road.
But wait.
Sometimes the drip returns. Sometimes the seal wears out again faster than expected. Hard water is a cruel master.
There is a second phase to this repair. A deeper clean. A more thorough check of the stem.
That is for next time.
Reassembling and testing your repair
Now comes the satisfying part. You reverse the disassembly process. It feels intuitive once you know the order.
Start with the valve stem. Slide it back into the body of the faucet. Make sure the new washer sits correctly inside. If you’re replacing the whole cartridge, drop it in. The threads are delicate. Start screwing things back together by hand. Don’t force it. Cross-threading is annoying and costly.
Once the fingers give you resistance, grab your wrench. A quick, gentle turn seals it. Don’t overtighten. You’re not crushing a nut. Just snug.
Next, the handle. Snap it back onto the stem. Check the alignment. It should sit flush and straight.
Finally, the escutcheon. This is the decorative cover plate. Press it into place. It hides the screw hole and makes the sink look factory-fresh again.
The goal isn’t just function. It’s aesthetics too.
The final leak check
Before you celebrate, do the water test.
Flip the shutoff valves open. You can leave them slightly ajar if you’re paranoid, but fully opening them is standard for a completed job.
Watch the faucet. Specifically, look at the base of the stem and around the handle connection.
Wait.
Ten seconds. Thirty. A minute.
Is there a drip? A bead of water forming? Or is it bone dry?
If there’s a leak, you usually tightened it too soon or missed a seal. If it’s dry, you’ve won. The annoying drip is gone. The kitchen is quiet. Your wallet is intact.
Why this DIY matters
Most people think plumbing is magic. It’s not. It’s mechanics.
This repair took less than fifteen minutes. You didn’t need expensive tools. You didn’t need a service call fee of $100 or more. You just needed to follow the steps.
There is a specific satisfaction in fixing something broken with your own hands. It changes how you view your home. The pipes aren’t mysterious black boxes anymore. They are accessible systems.
You have the skills now. The faucet works. The leak is fixed.
What’s next? The toilet running all night? The low pressure in the shower? The list of things you can fix starts to shrink.
The house needs you. Are you ready?